AloneReaders.com Logo

How to Easily Regrout Tile at Home

  • Author: Admin
  • November 01, 2023
How to Easily Regrout Tile at Home
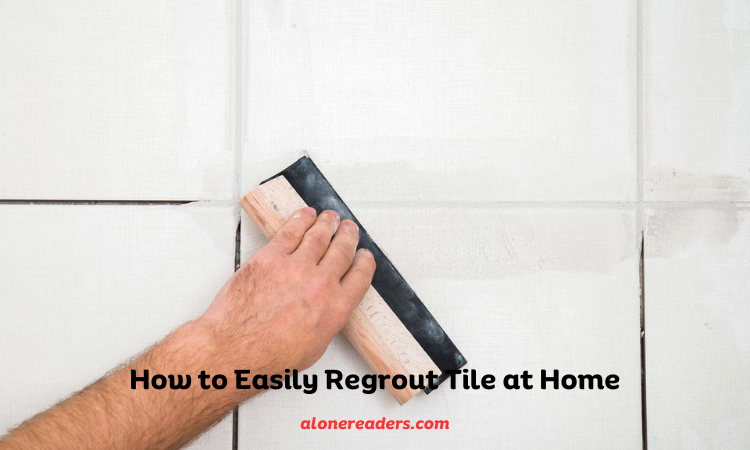
How to Easily Regrout Tile at Home | Photo: checkatrade.com

Tiles can add beauty and functionality to your home, whether they adorn your kitchen floor or line your shower walls. Over time, though, the grout that holds those tiles together can become discolored and cracked, detracting from the overall appearance of the surface. Instead of embarking on the costly and labor-intensive process of replacing all your tiles, consider regrouting as a simple and effective alternative.

Regrouting tile is a surprisingly straightforward process, offering a quick solution to refresh your tiled surfaces. Even if your tiles are in good condition, changing the grout color can give your space a fresh, new look.

Before you get started, here are some essential things to consider:

  • Preparation is Key: To ensure a smooth regrouting process, gather all necessary materials and prepare the work area. Using improper tools like a chisel or utility knife can damage your tiles.

  • Invest in the Right Tools: Two crucial tools for regrouting are an oscillating multitool with a grout removal blade and a carbide-tipped grout removal tool. While a manual grout removal tool can be used, it will be more time-consuming.

  • Protect Surrounding Surfaces: If you're regrouting near sensitive surfaces like countertops or bathtubs, use painter's tape and thick cardboard to shield them from potential grout damage.

What You'll Need

Tools:

  • Oscillating multitool with grout removal blade
  • Carbide-tipped grout removal tool
  • Wet/dry vacuum
  • Dust mask
  • Eye protection
  • Ear protection
  • Drill
  • Mixing paddle
  • Bucket
  • Rubber grout float
  • Grouting sponges
  • Microfiber cloth

Materials:

  • Removing Old Grout
  • Painter’s tape
  • Thick cardboard
  • Grout
  • Water
  • Haze remover (optional)
  • Grout sealer (optional)

Steps By Step Instructions for Regrouting Tile

  • Remove the Grout: Start by setting the grout removal blade on the oscillating multitool. Carefully remove the grout from the joints without scratching the tile edges. Allow the tool's vibration and oscillation to do the work, and pay special attention to the grout in the center of the joints.
  • Vacuum Grout Lines: After removing most of the grout, make another pass with the oscillating tool to clean up grout lines. Then, use a wet or dry vacuum to remove any remaining pieces and dust.
  • Manually Remove Any Remaining Grout: Use the carbide-tipped grout removal tool to remove any remaining grout pieces that the power tool couldn't eliminate. Be cautious not to scratch the tile faces.
  • Vacuum Every Grout Line: Thoroughly vacuum the entire tiled surface to remove all dust and loose grout from every joint. Clean and dry grout lines are essential before adding new grout.
  • Mix New Grout: Mix grout powder in a small bucket using a margin trowel. Gradually add water and grout powder until you have a smooth, paste-like consistency.
  • Apply New Grout: Spread the new grout into the grout lines using a rubber grout float. Approach the joints at an angle between parallel and perpendicular to ensure complete filling without pulling grout out.
  • Let the Grout Set: Allow the grout to dry for the specified time according to the manufacturer's instructions.
  • Sponge the Grout Joints and Tiles: Remove excess grout with a wet sponge after filling and tooling all grout lines. Use a lightly moist sponge to prevent pulling grout from the seams.
  • Remove the Grout Haze: Buff the tile surfaces with a soft cloth to eliminate any remaining haze. Optionally, use a haze-removing product for extra shine.
  • Seal the Grout (Optional): Consult the manufacturer's instructions to determine if the grout requires sealing. Apply grout sealer as instructed if necessary.

Final Word

Instead of replacing old and dirty tiles, consider regrouting as a cost-effective and efficient alternative. Regrouting not only revitalizes your tile surfaces but also provides a fresh appearance to your space. With the right tools and a little effort, regrouting can be a quick and easy DIY project, saving you time and money.