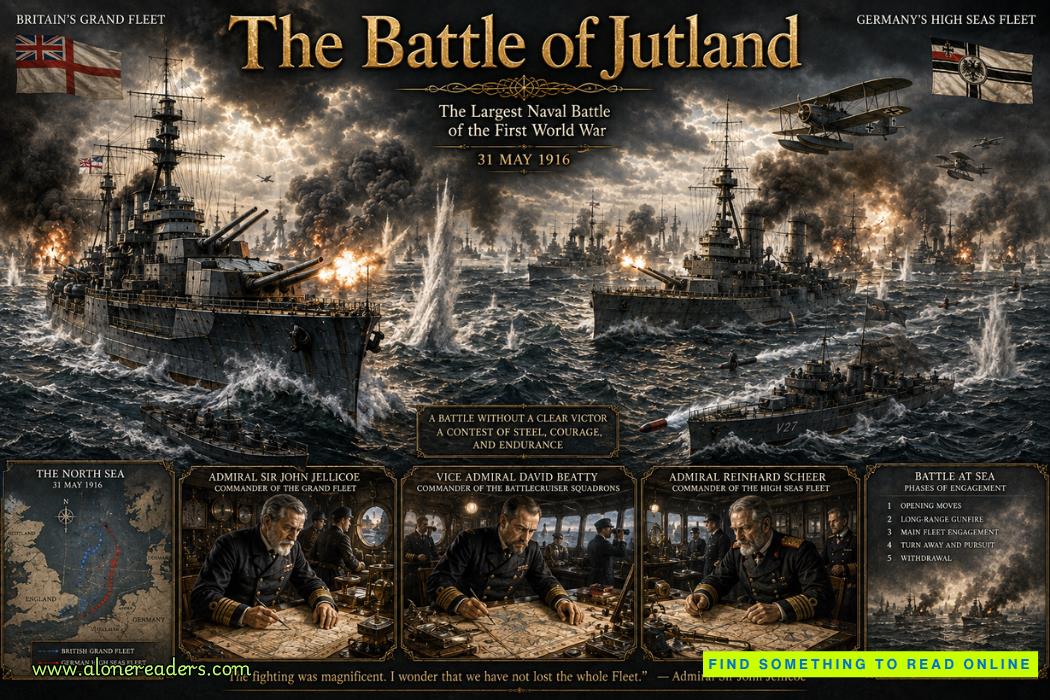
The Battle of Jutland, fought between 31 May and 1 June 1916, was the largest naval battle of World War I and the only major confrontation between the main battle fleets of Britain and Germany. It involved more than 250 warships and tens of thousands of sailors in a violent encounter across the North Sea. Britain’s Grand Fleet, commanded by Admiral Sir John Jellicoe, faced Germany’s High Seas Fleet, led by Admiral Reinhard Scheer. The battle produced heavy losses on both sides, destroyed several powerful warships, and generated immediate controversy over which navy had won. Germany inflicted greater material and human losses, but Britain retained control of the sea and continued the blockade that gradually weakened the Central Powers. Jutland was therefore a German tactical success but a British strategic victory.
Naval rivalry between Britain and Germany had intensified long before the war. Britain depended upon maritime trade, overseas colonies, and imported food, making command of the sea essential to its survival. The Royal Navy had traditionally followed a policy of maintaining a fleet stronger than those of its nearest rivals combined. Germany’s rapid industrial growth and Kaiser Wilhelm II’s ambition to build a world-class navy therefore appeared to threaten Britain’s national security.
The naval arms race accelerated after Britain launched HMS Dreadnought in 1906. This revolutionary battleship carried a uniform battery of large guns, powerful armor, and steam turbine engines. It immediately made earlier battleships obsolete. Germany responded by building dreadnoughts and battlecruisers of its own, forcing both countries into an expensive competition involving shipyards, steel production, armor, guns, and naval technology.
When war began in 1914, Britain possessed the larger fleet. The Grand Fleet operated mainly from northern bases such as Scapa Flow, protecting the British Isles and enforcing a distant blockade against Germany. The High Seas Fleet remained concentrated in fortified German ports. German commanders understood that a direct battle against the entire Royal Navy would be extremely dangerous. Instead, they hoped to lure smaller portions of the British fleet into traps and destroy them separately.
Britain’s blockade became one of its most important weapons. Rather than positioning ships directly outside German ports, the Royal Navy controlled access routes through the North Sea and English Channel. This strategy restricted Germany’s ability to import food, fertilizer, metals, fuel, and other essential materials. The longer the blockade continued, the more severe Germany’s economic and civilian shortages became.
German naval leaders therefore searched for an opportunity to reduce British superiority. Admiral Scheer planned an operation in which German battlecruisers under Vice Admiral Franz von Hipper would raid the British coast or threaten shipping. British battlecruisers would likely pursue them, after which the main High Seas Fleet would emerge and destroy the isolated force before the Grand Fleet could intervene.
The plan contained one major weakness: British intelligence had penetrated German naval communications. The Royal Navy’s code-breaking organization, commonly associated with Room 40, intercepted and analyzed German wireless signals. British commanders learned that a major operation was being prepared and sent the Grand Fleet to sea. As a result, both sides entered the North Sea hoping to surprise an opponent who was already searching for them.
The British force consisted of two principal elements. Admiral Jellicoe commanded the main Grand Fleet, including powerful dreadnought battleships and armored cruisers. Farther south, Vice Admiral David Beatty led the faster Battle Cruiser Fleet. Battlecruisers carried battleship-sized guns but sacrificed armor for speed. Their purpose was to scout, pursue weaker ships, and escape stronger opponents. In practice, they were often used in direct combat against heavily armed enemy vessels, exposing their vulnerabilities.
The first major contact occurred during the afternoon of 31 May 1916. British and German scouting forces spotted one another after investigating a neutral merchant vessel. Hipper turned south toward Scheer’s approaching battleships, hoping Beatty would follow. Beatty pursued, beginning the phase known as the Run to the South.
The opposing battlecruisers opened fire at long range. German gunnery proved highly accurate, while British communication and fire control initially performed poorly. More dangerously, British battlecruisers had serious weaknesses in ammunition handling. Crews kept extra cordite charges outside protected magazines to increase firing speed. This practice allowed explosions inside gun turrets to spread rapidly into ammunition storage areas.
The consequences were catastrophic. The British battlecruiser HMS Indefatigable was struck repeatedly before exploding and sinking with almost her entire crew. Soon afterward, HMS Queen Mary also blew apart after German shells penetrated its armor and ignited ammunition. Watching the destruction, Beatty reportedly remarked that something appeared wrong with the British ships that day. The loss of two major battlecruisers within a short period revealed the deadly consequences of inadequate armor and unsafe ammunition procedures.
Beatty continued south until he sighted the main German High Seas Fleet. Realizing he was approaching a far stronger force, he reversed course and headed north toward Jellicoe. This began the Run to the North, during which Beatty attempted to draw Scheer toward the approaching Grand Fleet. German commanders, unaware of Jellicoe’s precise location, followed.
Jellicoe now faced one of the most difficult command decisions in naval history. He had to deploy the Grand Fleet from cruising columns into a battle line while possessing incomplete information about the enemy’s location. A poor deployment might expose British ships to torpedo attack or allow the Germans to escape. Jellicoe deployed to the east, successfully placing his fleet across Scheer’s path.
This maneuver enabled the British to cross the German T, a classic naval position in which one fleet forms a line across the front of another. The British could bring many guns to bear while the approaching German ships could initially use only their forward weapons. Under heavy fire, Scheer ordered a highly disciplined simultaneous turn away, allowing the High Seas Fleet to escape immediate destruction.
For reasons that remain debated, Scheer later turned back toward the British fleet and again encountered Jellicoe’s battle line. The Germans found themselves in an extremely dangerous position. To protect the main fleet, Scheer ordered his battlecruisers to charge toward the British in what became known as the death ride. German destroyers also launched torpedo attacks, forcing Jellicoe to turn away temporarily.
Jellicoe’s decision to turn away from the torpedoes later attracted criticism because it allowed the Germans to escape. However, his primary responsibility was preserving the only fleet capable of protecting Britain from invasion and maintaining the blockade. Losing several dreadnoughts to torpedoes could have endangered Britain’s entire war strategy. His caution reflected the extraordinary strategic value of the Grand Fleet.
As darkness fell, the fleets became scattered across the North Sea. Night fighting was confused and violent. British destroyers and cruisers encountered German battleships at close range, launching torpedoes and exchanging gunfire under searchlights. Several ships were sunk, while others passed within short distances without recognizing one another.
The German fleet crossed behind the British formation during the night and successfully reached its home ports on 1 June. Jellicoe remained at sea, expecting the Germans might reappear, but the main battle had ended. Both sides immediately claimed success.
Britain suffered the heavier losses. Fourteen British ships were sunk, including the battlecruisers Indefatigable, Queen Mary, and Invincible. More than 6,000 British sailors were killed. Germany lost eleven ships and approximately 2,500 sailors. Based purely upon ships and men lost, Germany had inflicted the greater damage.
However, strategic results told a different story. The Grand Fleet remained larger than the High Seas Fleet and continued controlling the North Sea. Germany did not break the blockade, destroy British naval superiority, or gain freedom to operate its surface fleet. After Jutland, the High Seas Fleet became increasingly cautious and rarely challenged the entire Grand Fleet again.
The battle exposed important technical differences between the navies. German ships generally possessed stronger internal subdivision, better protection against explosions, and effective damage-control systems. British ships often carried larger guns and had advantages in speed and numbers, but their battlecruisers were vulnerable to magazine explosions. After Jutland, the Royal Navy improved ammunition safety, flash protection, armor procedures, signaling, and gunnery coordination.
Communications failures played a major role. Beatty did not always provide Jellicoe with accurate information about German positions. Smoke, distance, damaged equipment, and inconsistent signaling created confusion throughout the battle. British commanders sometimes failed to share vital intelligence quickly, while several opportunities to concentrate fire were lost.
German gunnery and ship construction earned considerable respect. Hipper’s battlecruisers absorbed heavy punishment yet remained operational, while Scheer successfully maneuvered his fleet away from potentially catastrophic situations. Nevertheless, Germany’s tactical skill could not overcome Britain’s numerical and geographical advantages.
Jutland also demonstrated that decisive fleet battles had become extraordinarily difficult. Modern naval combat occurred across vast distances, while smoke and poor visibility obscured targets. Torpedoes, mines, submarines, and long-range guns created multiple dangers. A commander could win individual exchanges yet still fail to achieve the strategic destruction of the enemy fleet.
Unable to defeat Britain through surface warfare, Germany increasingly relied upon unrestricted submarine warfare. U-boats targeted merchant shipping in an effort to cut Britain’s supplies. This strategy sank enormous quantities of shipping but also contributed directly to the United States entering the war in 1917.
The battle’s outcome generated intense controversy in Britain. Many citizens expected another overwhelming victory comparable to Trafalgar and were disappointed by reports of heavy losses. Critics accused Jellicoe of excessive caution and Beatty of tactical errors. Supporters argued that Jellicoe had preserved British naval supremacy and prevented Germany from altering the strategic balance.
The most accurate assessment is that Germany won the immediate exchange but Britain won the wider contest. The High Seas Fleet returned to port and remained unable to challenge the blockade effectively. Britain continued controlling global shipping routes, protecting the movement of troops and supplies, and isolating Germany from overseas resources.
Ultimately, the Battle of Jutland was the greatest naval confrontation of World War I, but it was not the decisive annihilation either side desired. Germany demonstrated exceptional gunnery, ship design, and tactical discipline while inflicting heavier losses upon Britain. Yet Britain retained the larger fleet, maintained command of the sea, and continued the blockade that contributed to Germany’s eventual defeat. Jutland proved that naval victory could not be measured solely by ships sunk or sailors lost. Its true significance lay in what happened afterward: the Royal Navy remained dominant, the German surface fleet remained contained, and the strategic balance of the war at sea remained firmly in Britain’s favor.



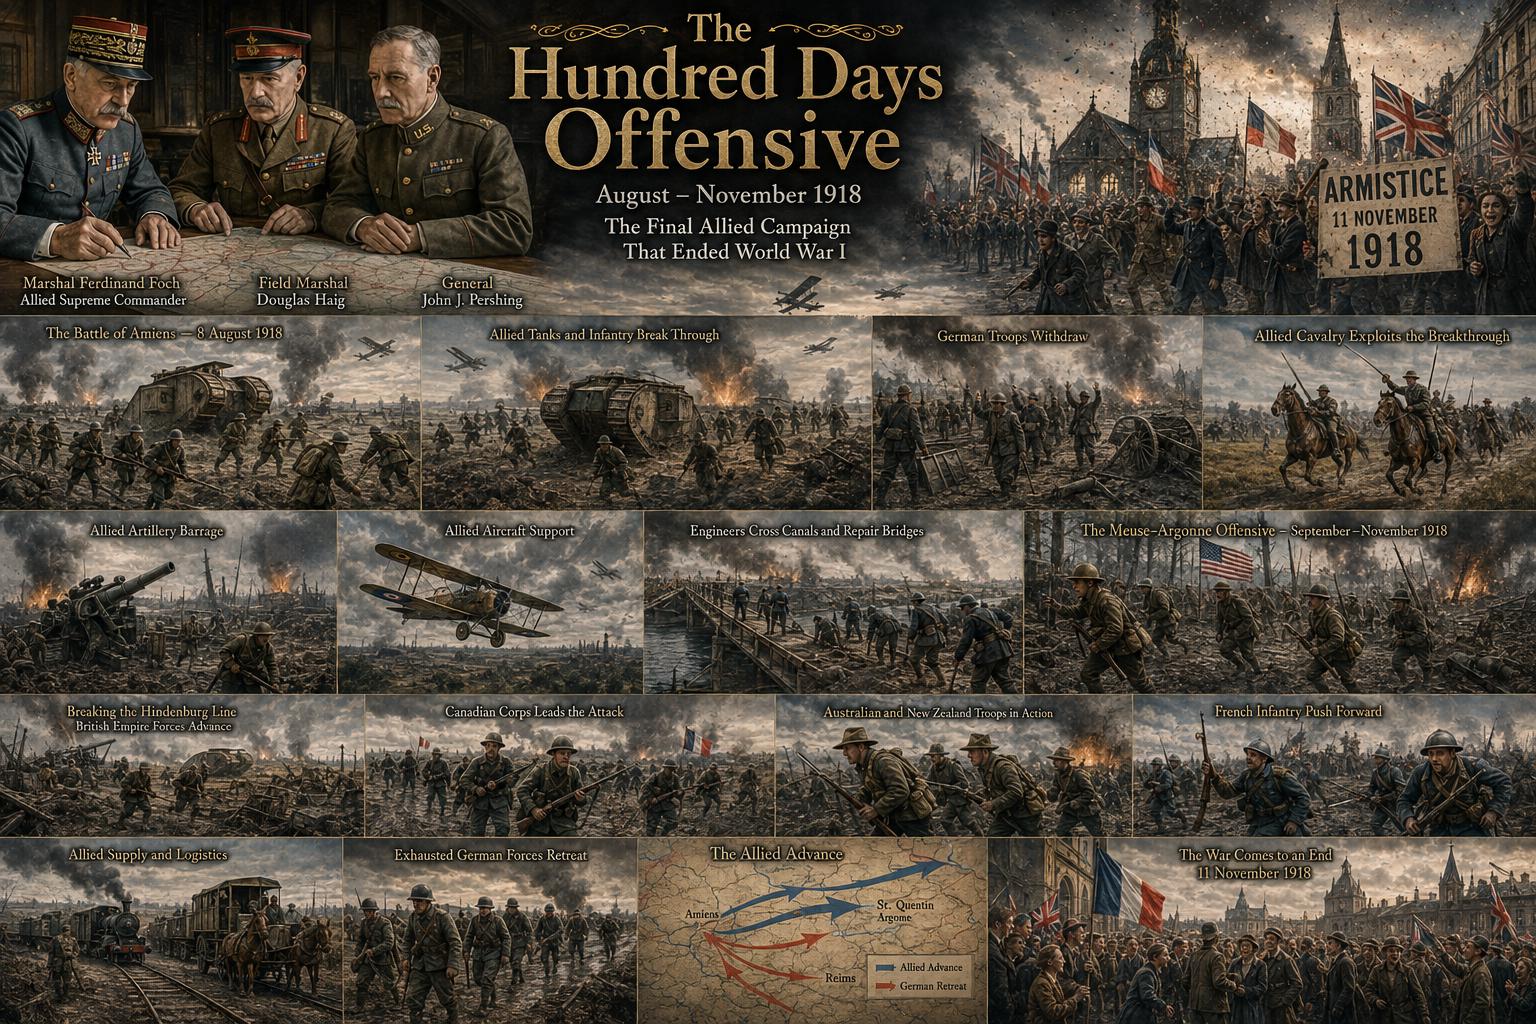 The Hundred Days Offensive: How the Allies Defeated Germany in World War I
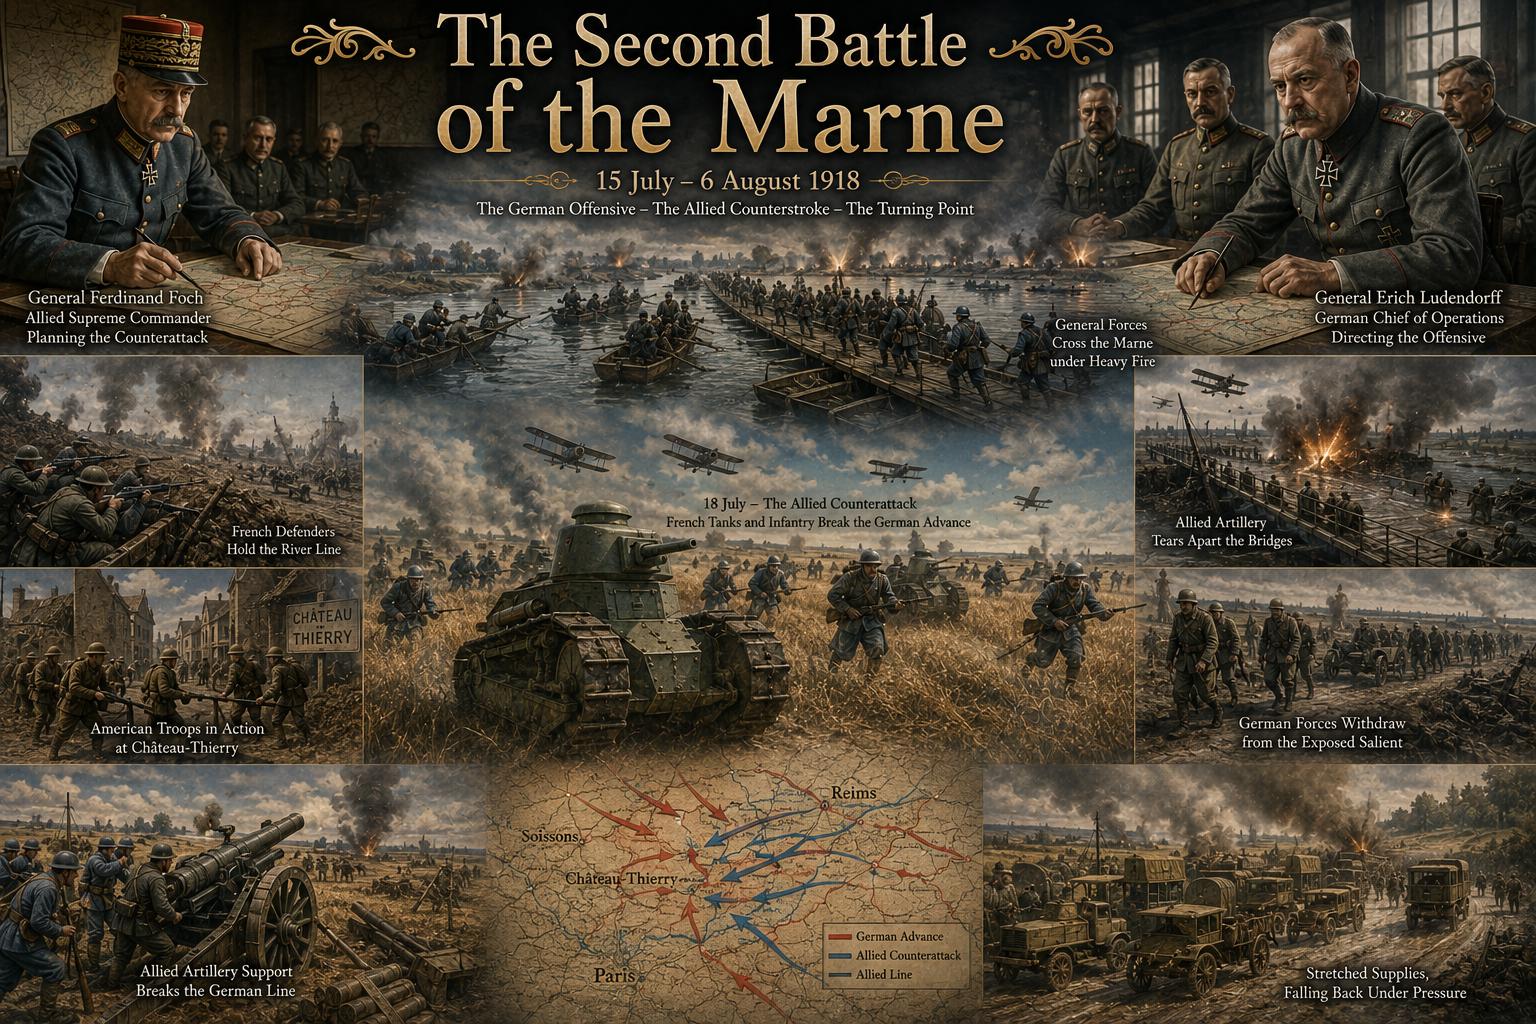 The Second Battle of the Marne: The Turning Point of World War I in 1918
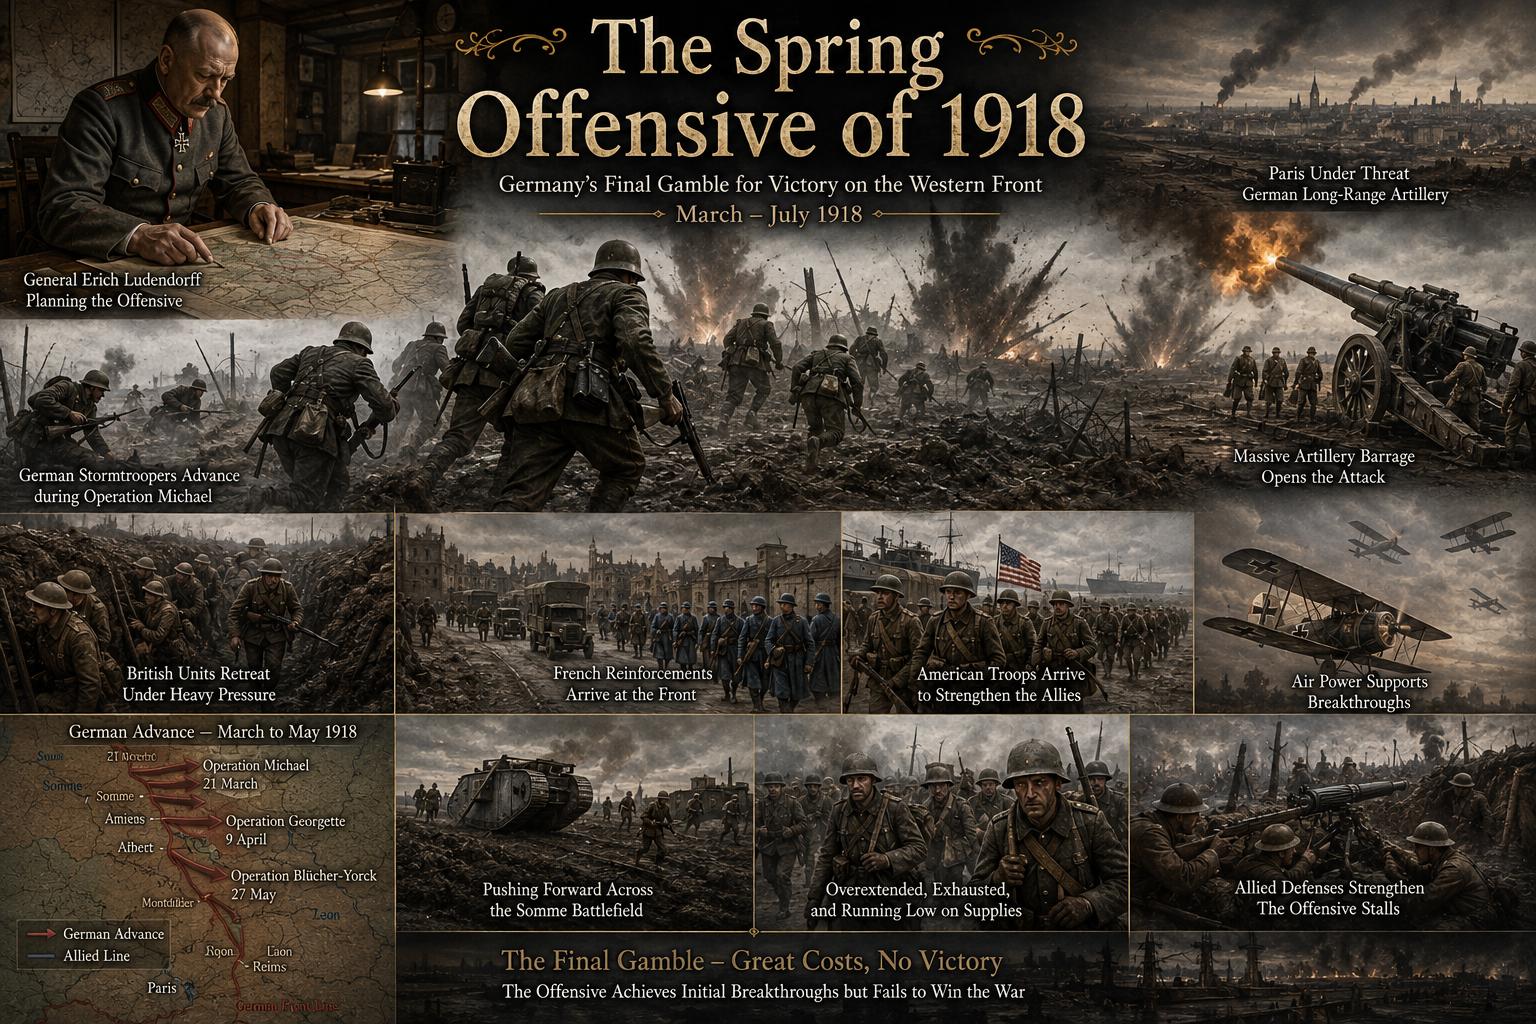 The Spring Offensive of 1918: Germany's Final Gamble to Win World War I
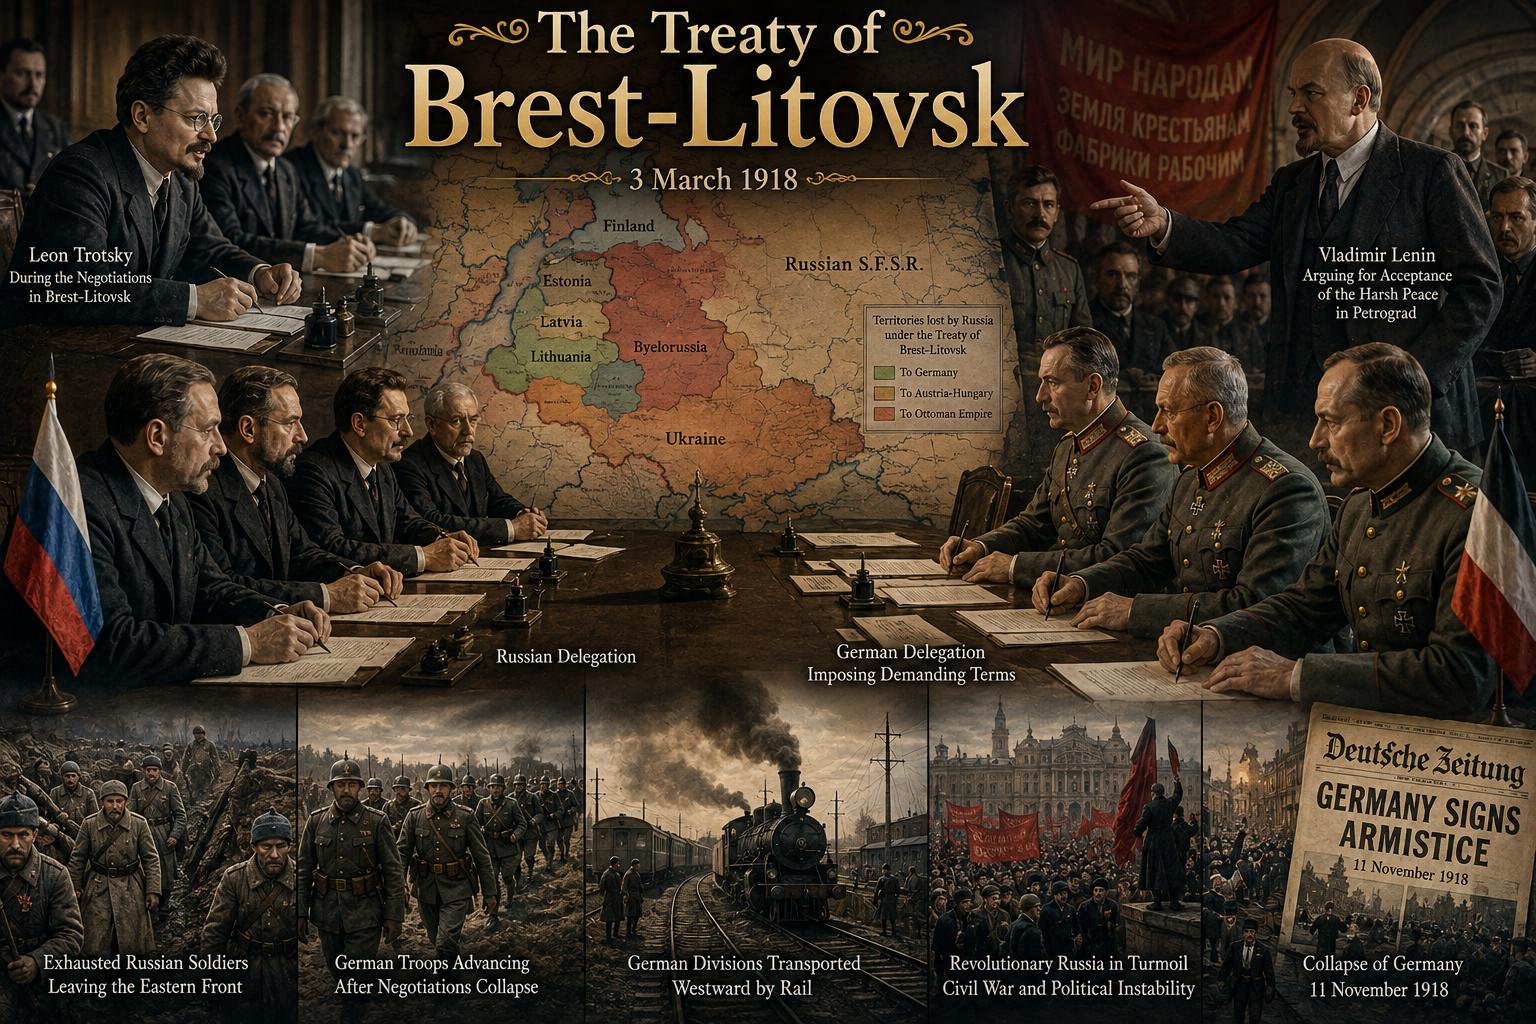 The Treaty of Brest-Litovsk: How Russia Left World War I
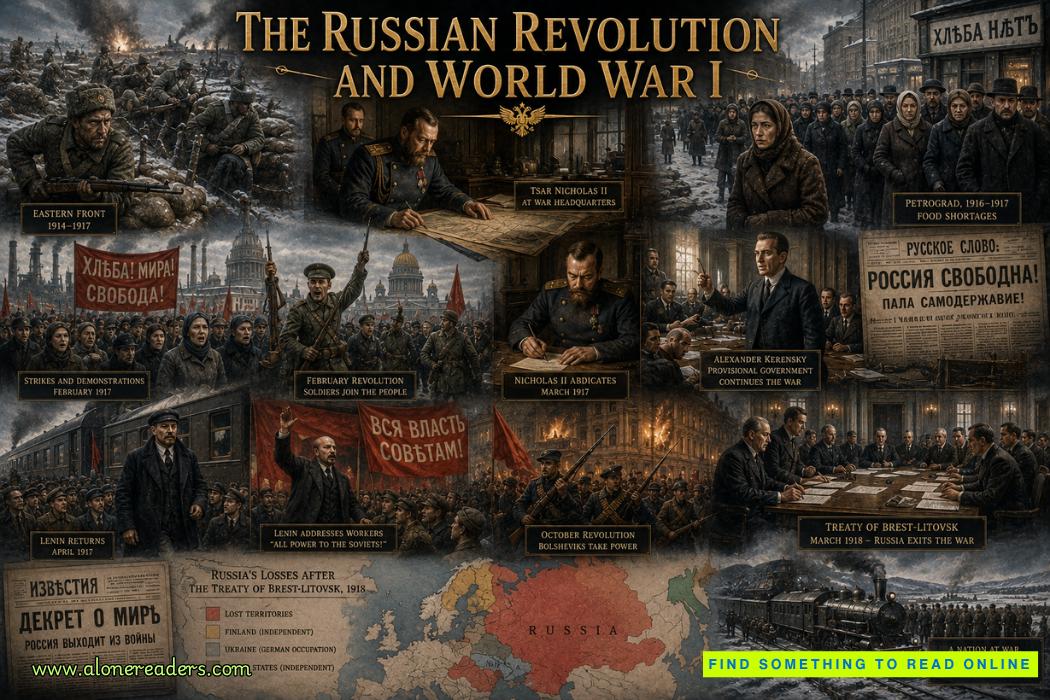 The Russian Revolution and World War I: How War Brought Down the Tsar
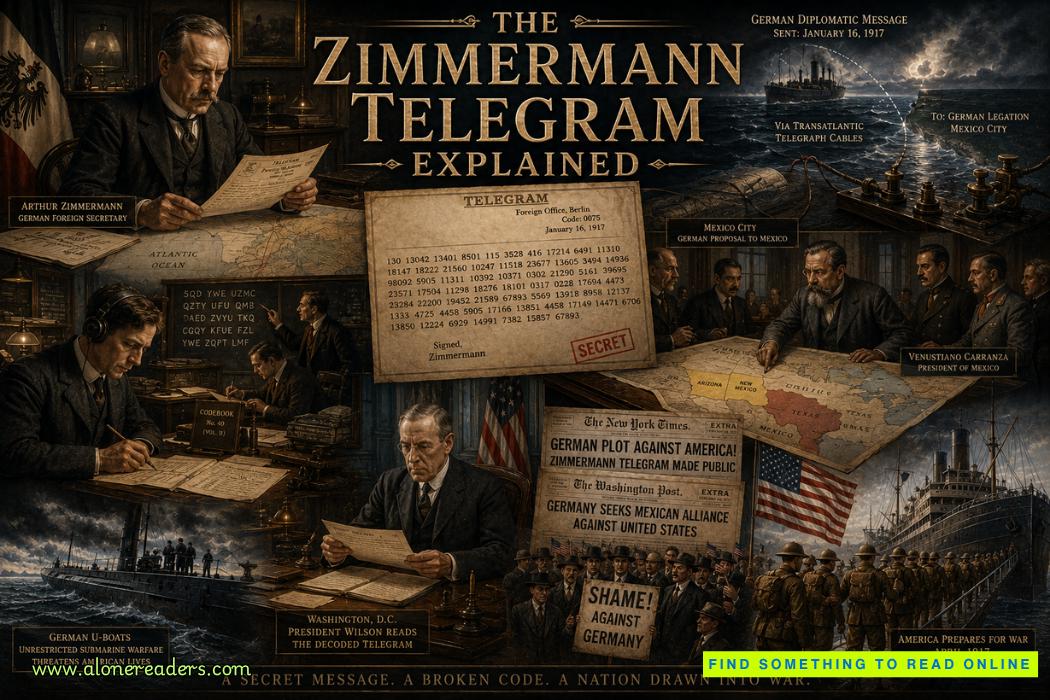 The Zimmermann Telegram Explained: Germany's Secret Offer to Mexico in World War I