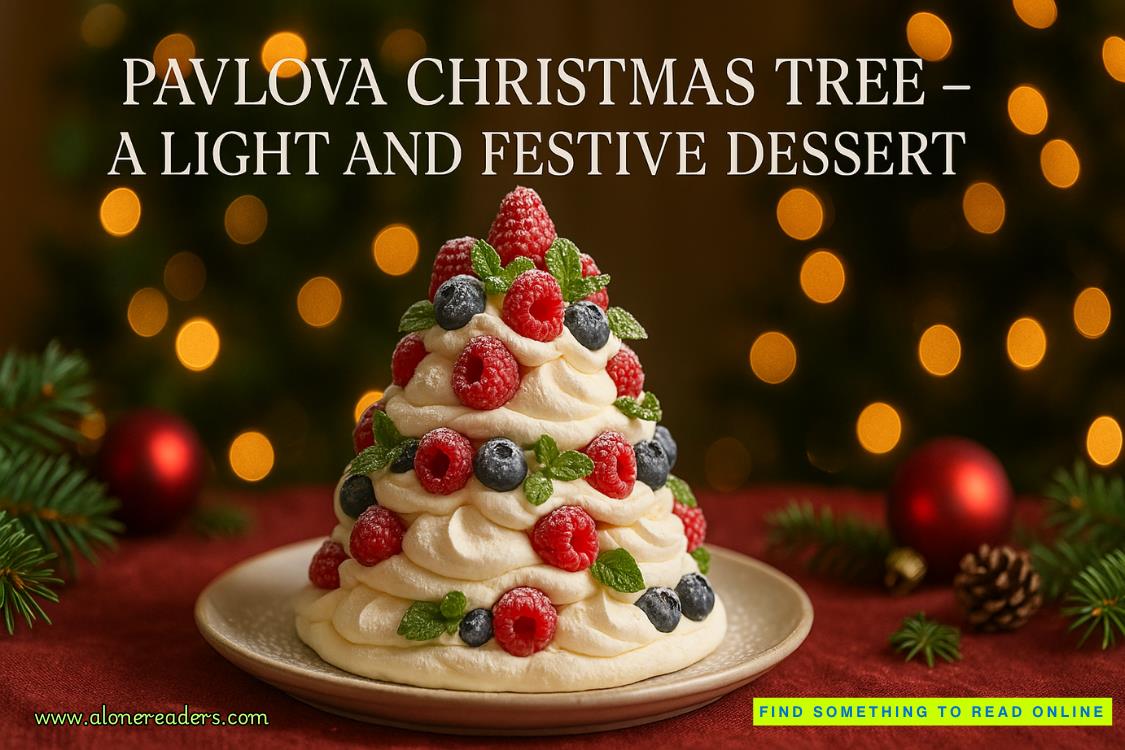
The holiday season is more than just food—it’s a celebration of colour, texture and joyful presentation. Among the many festive treats, the Pavlova Christmas Tree stands out not only for its flavour but also for its visual appeal. Light, crisp and airy on the outside yet soft and marshmallow-like on the inside, pavlova is traditionally served as a flat meringue topped with cream and fruits. But transforming it into a towering Christmas tree dessert gives it an elegant twist, perfect for a centrepiece at your Christmas table.
Unlike traditional heavy desserts, pavlova feels refreshing. Its airy texture balances perfectly with tangy fruits and softly whipped cream. More importantly, this dessert can be prepared ahead, decorated creatively and customised to suit almost any dietary preference – including gluten-free options.
In this article, we will dive deep into the making of a pavlova Christmas tree, step-by-step instructions, best fruits to use, stability techniques for stacking, storage tips and professional decoration ideas to make it look like it belongs in a festive magazine spread.
Pavlova requires gradual baking and slow cooling. Never rush the oven process—it risks cracking or collapsing. Ideally, bake the pavlova layers the day before assembling.
Each layer will be shaped into gradually smaller circles, stacked like a Christmas tree.
Recommended Layer Sizes (diameter):
You may adjust according to your serving size.
Fold in:
These ingredients help maintain shape and prevent collapse during baking.
To prevent collapse:
Mini Pavlova Trees:
Make multiple smaller versions for individual servings – perfect for buffet tables or plated desserts.
Chocolate Layer Drizzle:
Add melted dark chocolate between some layers for extra richness. Chill before stacking.
Lemon Curd or Passionfruit Layer:
Introduce citrus acidity to balance sweetness.
Meringue Texture Variation:
Pipe spirals or star shapes for alternative tree textures.
Problem: Meringue cracks
Solution: Lower the oven temperature or allow longer cooling.
Problem: Layers collapse when stacked
Solution: Use a skewer or thicker whipped cream for support.
Problem: Meringue sticks to baking paper
Solution: Dust base with cornflour before piping.
Problem: Weeping meringue (liquid coming out)
Solution: Beat egg whites longer before adding sugar.
Although pavlova contains sugar, the overall dessert is low in fats when compared to traditional cakes or pies. Using fresh fruits adds vitamins, antioxidants and natural colour. For a healthier version, you can use stevia or erythritol instead of sugar and coconut cream instead of dairy cream.
A pavlova Christmas tree is more than a recipe—it is a creative and joyful expression of the holiday season. Once you make it the first time, you’ll discover how easy it is to customise and turn it into your signature festive dessert year after year.
Enjoy making it—and let your table shine with edible Christmas magic.

October 25, 2023

January 02, 2025
 The Power of Positive Thinking: How to Cultivate Optimism for Lasting Success
 Mindfulness Practices to Enhance Mental Health: Science-Backed Techniques for Emotional Resilience
 Sticky Glazed Christmas Chicken – A Sweet and Savory Delight for the Holiday Table
 Gingerbread Biscuits and Cakes – A Complete Festive Recipe Guide
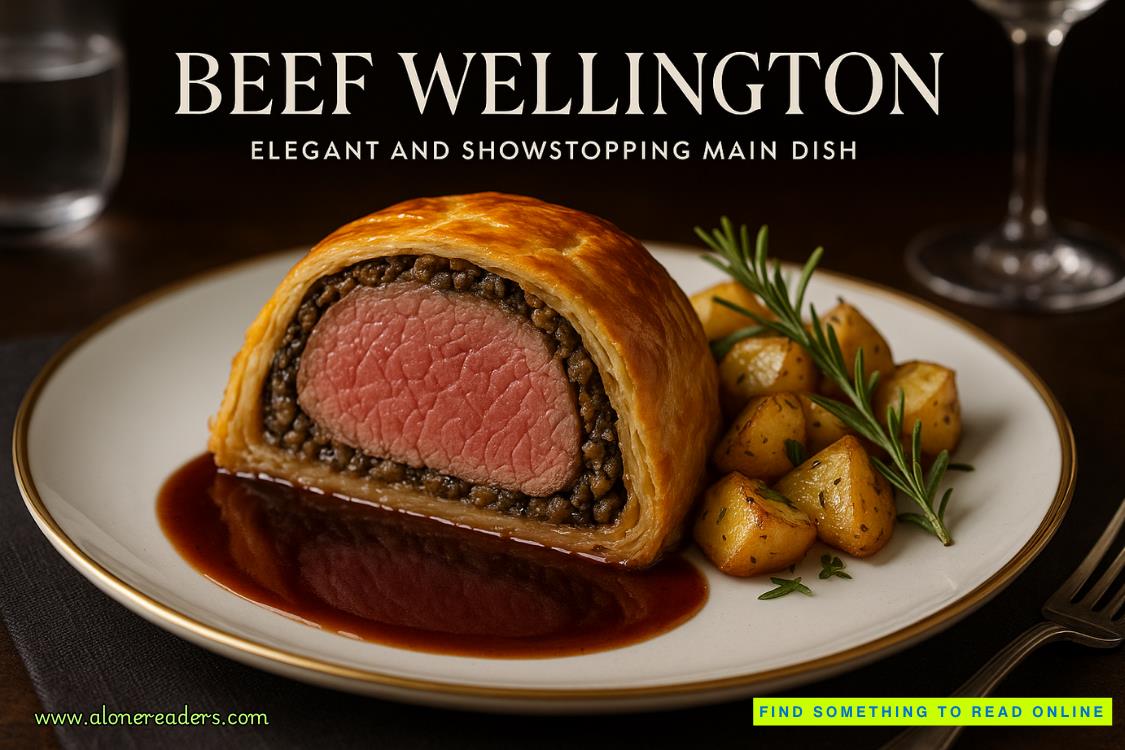 Beef Wellington – A Masterpiece Main Dish for Special Occasions
 The Role of Preventive Care in Maintaining Physical Health: A Deep Expert Analysis
 The Abu Ghraib Scandal, Iraq, 2004: A Human Rights Disaster That Shook the World
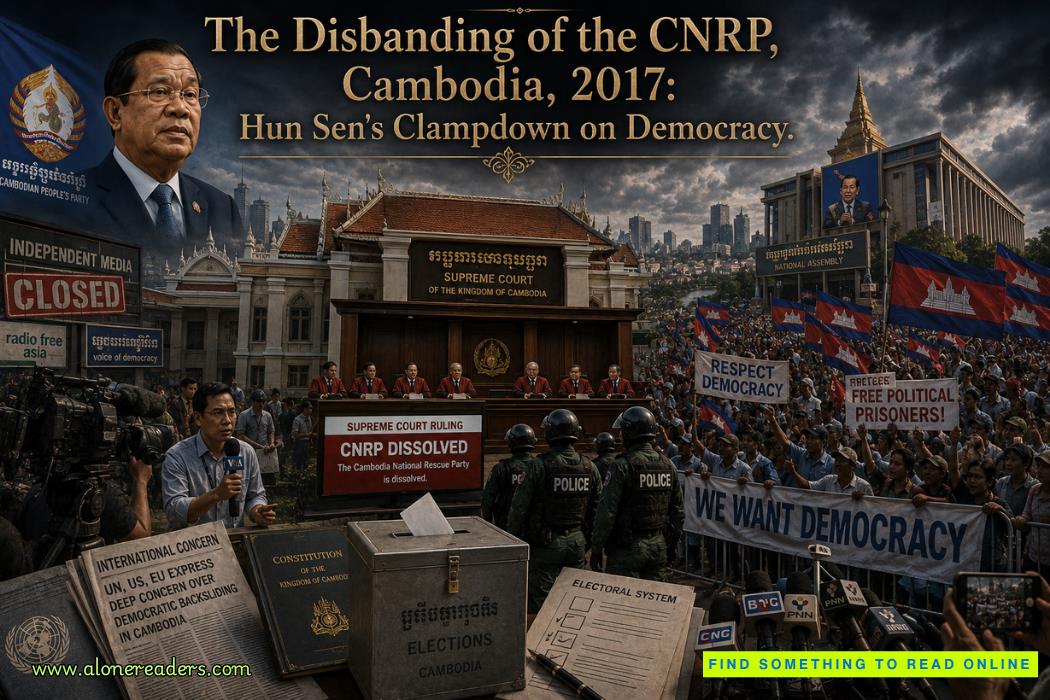 The Disbanding of the CNRP, Cambodia, 2017: Hun Sen's Clampdown on Democracy and the Reshaping of Cambodian Politics
 The Firing of James Comey, United States, 2017: Trump's Controversial Decision Amid FBI Investigation
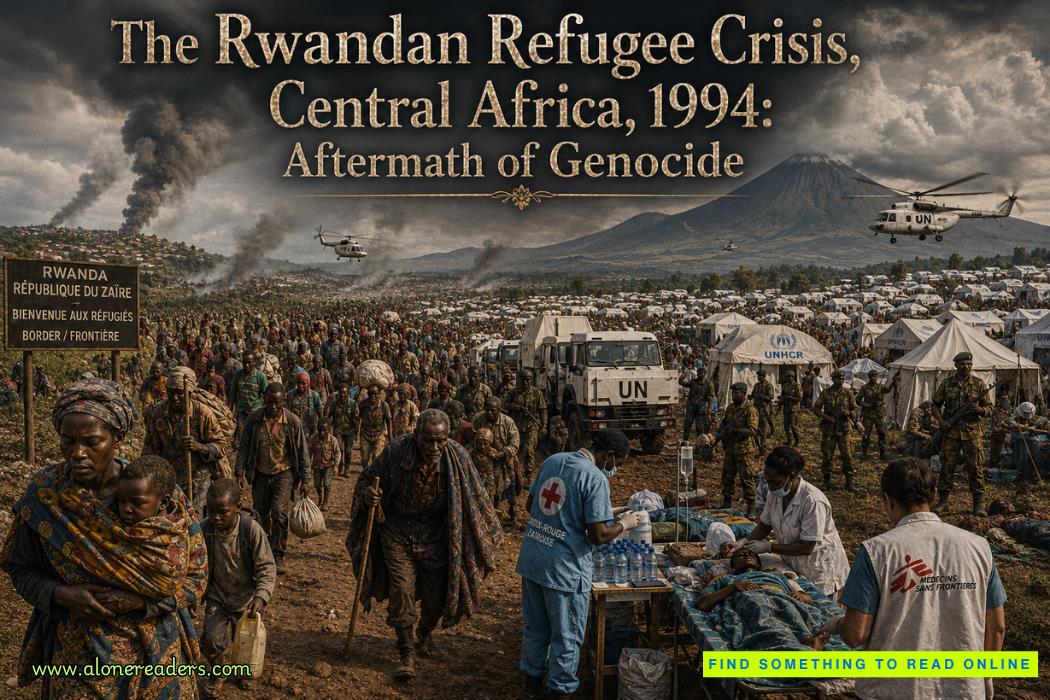 The Rwandan Refugee Crisis, Central Africa, 1994: Aftermath of Genocide and the Humanitarian Catastrophe
 The Most Important Turning Points of the Battle of Hastings (1066)
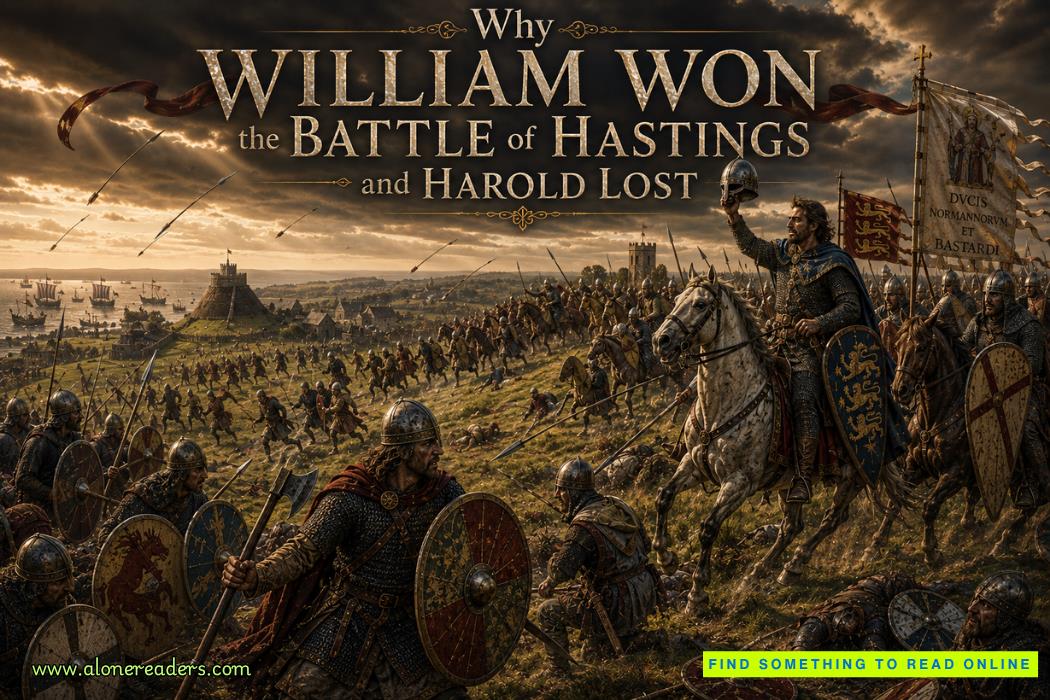 Why William Won the Battle of Hastings and Harold Lost: Strategy, Leadership and Fate in 1066
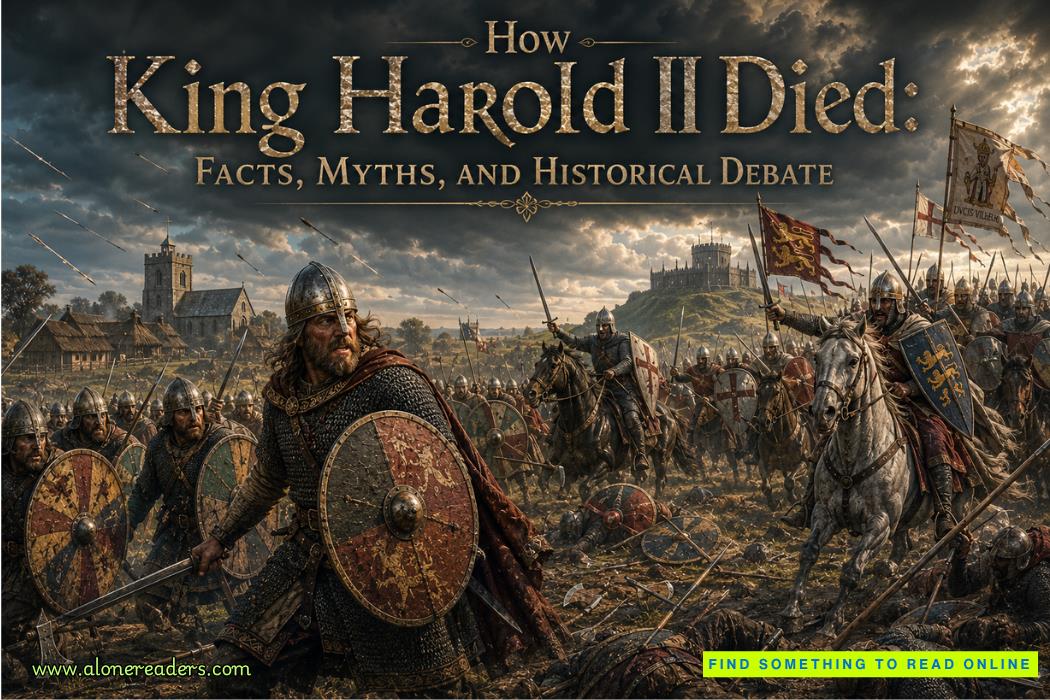 How King Harold II Died: Facts, Myths, and Historical Debate
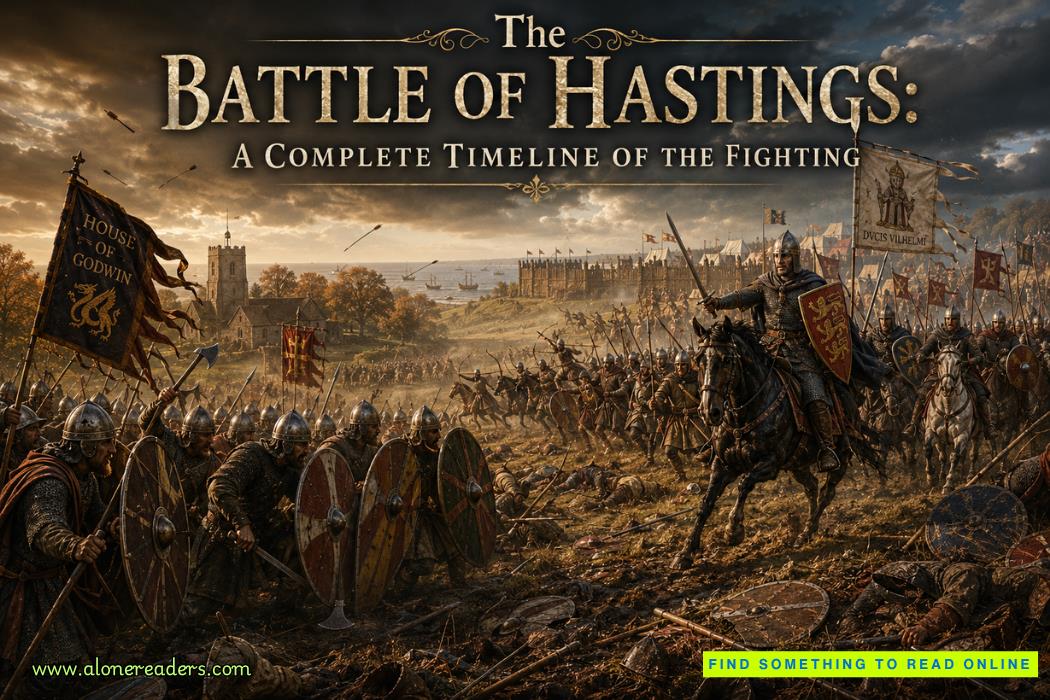 The Battle of Hastings: A Complete Timeline of the Fighting
 High-End Talent Category A Work Permit China 2026: Complete Eligibility, Benefits, Application Process, and Expert Guide
 Cultural Activities Visa Japan 2026 Guide: Complete Eligibility, Requirements, Application Process, and Expert Tips