Cleaning your car’s engine bay isn’t just about aesthetics—it’s a key part of proper vehicle maintenance. A clean engine compartment helps you detect leaks early, prevents debris buildup, and ensures that rubber, plastic, and electrical components last longer. However, this process must be done carefully to avoid damaging sensitive parts. Below is a detailed, professional-level guide to cleaning your car’s engine bay safely and effectively.
A car’s engine bay collects dirt, oil residue, dust, and road grime over time. These contaminants not only make it unsightly but can also trap heat, degrade wiring insulation, and make diagnostics difficult. Periodic cleaning helps in:
Most experts recommend cleaning the engine bay every 6 to 12 months, depending on driving conditions and weather exposure.
Before touching any part of your engine bay, preparation is critical. A rushed job can lead to electrical damage or corrosion. Follow these steps carefully.
1. Park and Cool the Engine
Ensure the engine is completely cool before starting. Spraying water on a hot engine can cause cracking in components or warp metal parts. Ideally, let it cool for at least 30 to 45 minutes after driving.
2. Disconnect the Battery
For maximum safety, disconnect the negative (-) terminal of the battery. This prevents short circuits and accidental starts. If you prefer not to reset your vehicle’s electronics, you can cover the terminals tightly with plastic wrap instead.
3. Cover Sensitive Components
Use plastic bags, aluminum foil, or waterproof wraps to cover:
These are sensitive to water and moisture, which could cause malfunction.
4. Gather the Right Supplies
Having professional-grade tools and cleaners makes all the difference. You’ll need:
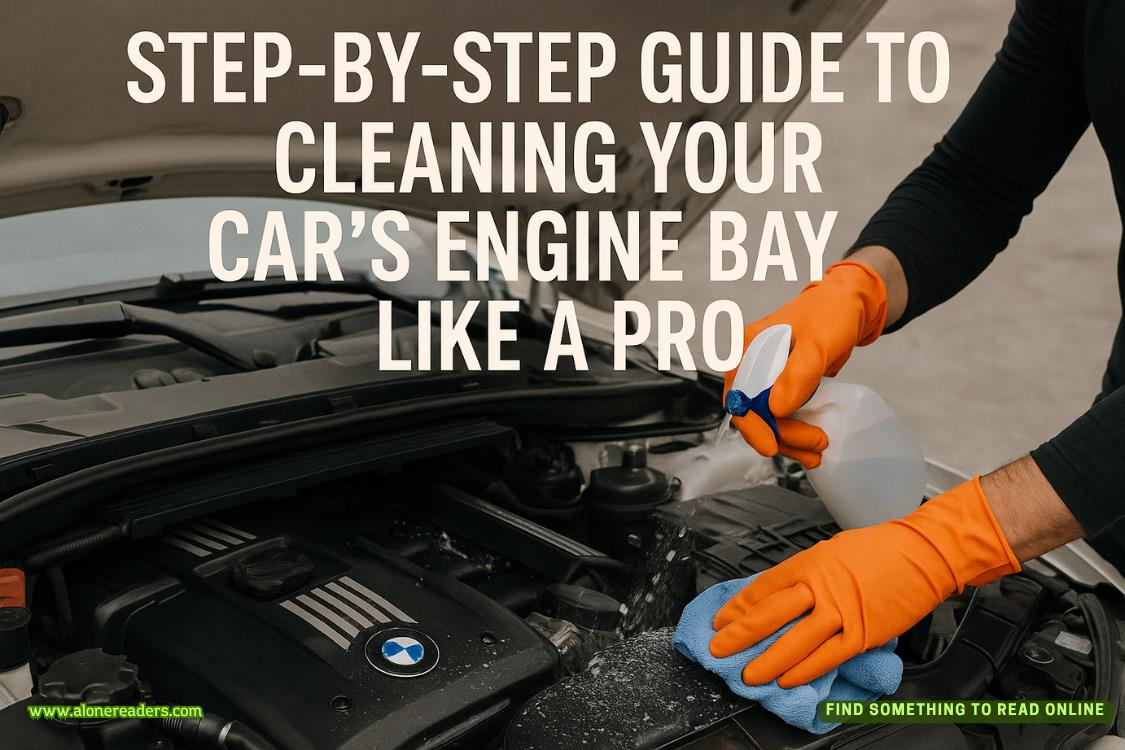
This is the stage where the real cleaning begins. The degreaser helps break down built-up oil and grime, making it easier to rinse off without scrubbing too aggressively.
1. Pre-Rinse (Optional)
If your engine bay is heavily caked with mud or dry dust, a gentle rinse with low-pressure water helps loosen surface debris. Avoid high-pressure washers directly on electrical parts.
2. Apply Degreaser
Spray the degreaser evenly over the entire engine bay, focusing on oily areas like the valve cover, lower engine block, and around fluid reservoirs. Allow it to dwell for 3–5 minutes. Do not let it dry out.
3. Agitate the Surface
Use stiff nylon brushes for metal and rubber areas and softer detailing brushes for plastic and painted components. Agitation helps the degreaser lift oil and grime effectively.
4. Wipe Before Rinsing
For light cleaning, you can use damp microfiber towels to wipe off the degreaser instead of rinsing. For heavy buildup, continue to the rinsing stage.
Rinsing requires precision. The goal is to remove the degreaser without introducing excessive moisture.
1. Use Low-Pressure Water
Use a hose with a fine mist setting or a pump sprayer. Avoid using pressure washers unless you are trained in detailing, as high pressure can force water into connectors and seals.
2. Rinse from Top to Bottom
Let gravity do the work. Rinse gently from the top sections (hood area) downward toward the lower engine block.
3. Remove Protective Covers
Once rinsing is done, carefully remove plastic or foil coverings and check for trapped moisture underneath.
4. Dry the Engine Bay
Use a combination of compressed air, blower, or microfiber towels. Compressed air is ideal for removing water from crevices, especially near spark plug wells, wiring harnesses, and sensor housings.
If air tools aren’t available, leave the hood open for 30–60 minutes to air-dry completely.
A clean engine bay is good; a protected one is better. After the area is dry, detailing and protection steps will help maintain the finish and prevent corrosion.
1. Apply Plastic and Rubber Protectant
Use a non-silicone-based dressing or water-based protectant to restore the dark sheen of rubber hoses, belts, and plastic covers. Silicone products can attract dust and create a greasy surface.
2. Polish Painted Areas
If your vehicle has visible painted surfaces under the hood, a small amount of polish or quick detailer can enhance their appearance and prevent oxidation.
3. Inspect Fluids and Caps
Take the opportunity to check that oil, coolant, brake fluid, and washer caps are tight and clean. A freshly cleaned bay helps detect any leaks in the future.
4. Reconnect the Battery
Once everything is dry, reconnect the battery terminal and start the engine. Let it idle for a few minutes to ensure no warning lights appear.
Professional detailers often see the same avoidable errors. Knowing these will help you maintain your engine safely.
1. Steam Cleaning for Precision
If you want a more advanced method, steam cleaning is ideal. It uses minimal water, penetrates grime, and disinfects surfaces. A handheld steamer can clean tight areas around sensors safely.
2. Use a Detailing Brush Set
Different sizes of brushes let you access tight corners—behind strut towers, under coolant hoses, and near throttle cables. Use soft bristles for delicate parts.
3. Clean the Underside of the Hood
Most people overlook the hood’s underside. Clean the insulation pad gently using a damp cloth and vacuum; avoid soaking it with water.
4. Regular Maintenance Between Deep Cleans
Every few weeks, wipe surfaces with a damp microfiber towel to prevent buildup. This minimizes the need for deep cleaning and keeps the engine bay looking professional.
Once your engine bay is spotless, perform a quick check before closing the hood.
A clean, dry, and protected engine bay not only improves appearance but also instills confidence in the vehicle’s reliability.
Cleaning your car’s engine bay isn’t a luxury—it’s preventive care. When done properly, it enhances performance, extends the lifespan of components, and preserves your vehicle’s value. By following this detailed guide, you can safely transform a grimy engine bay into a professional-grade finish without risking damage. Whether you’re a weekend DIY enthusiast or a meticulous car owner, this process ensures your engine remains as pristine and efficient as the day it left the factory.

January 02, 2025

October 25, 2023


 2026 Jeep Wrangler Review: Off-Road Capabilities Tested in Extreme Terrain
 2026 Nissan Altima Review: Tech, Comfort, and Safety – In-Depth Expert Analysis
 Hyundai Tucson vs Kia Sportage: 2026 Compact SUV Comparison Guide
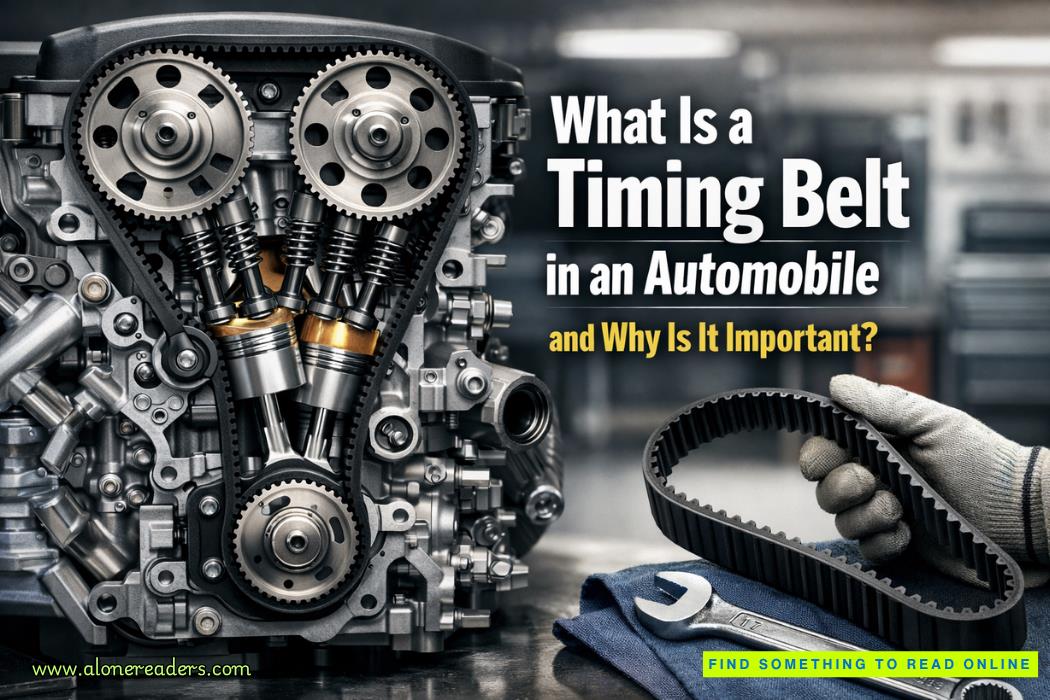 What Is a Timing Belt in an Automobile and Why Is It Important?
 Top 10 Driving Habits That Damage Your Car and Reduce Its Lifespan
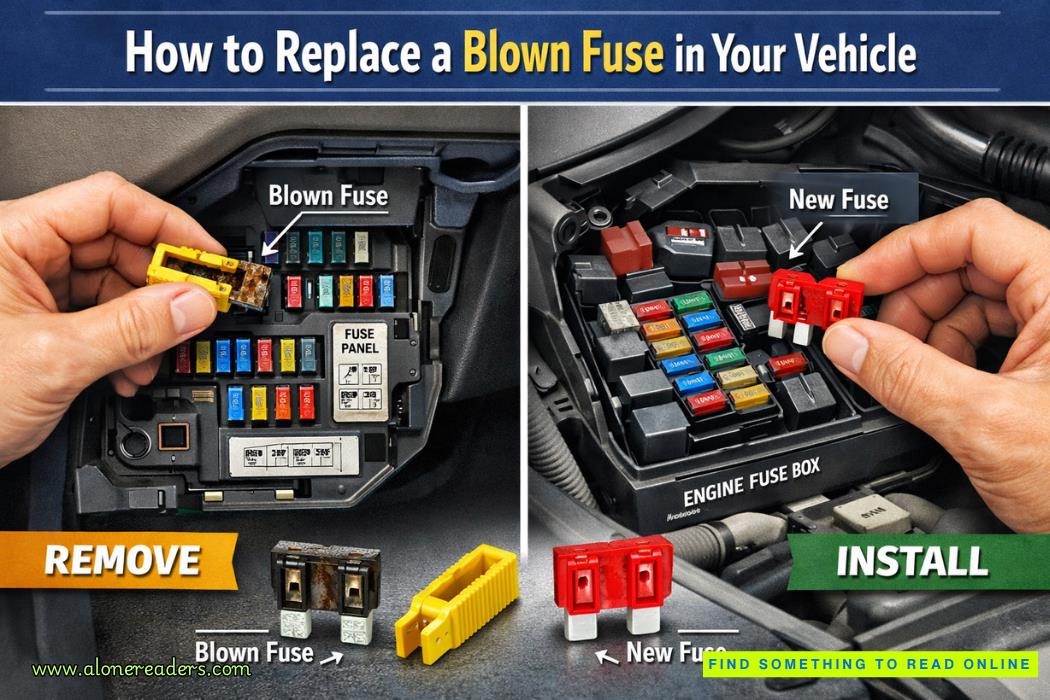 How to Replace a Blown Fuse in Your Vehicle: A Complete Step-by-Step Guide
 Harold Godwinson: The Last Anglo-Saxon King of England
 The Three Claimants to the English Throne: Harold Godwinson, William of Normandy, and Harald Hardrada
 England Before Hastings: Edward the Confessor’s Death and the Succession Crisis
 The Battle of Hastings (1066): The Battle That Changed England Forever
 The Role of Indian Princes, Sikhs, and Gurkhas During the Indian Rebellion of 1857
 Regional Uprisings Across India: Central India, Rohilkhand, and the Expanding Revolt of 1857
 Kunwar Singh and the Rebellion in Bihar: The Elder Warrior Who Challenged British Rule
 The Battle of Gwalior and the Final Stand of the Rebel Leaders (1858)
 The Sassanid Empire: Persia’s Fire Worshipers and the Arab Conquests
 The Rise and Fall of the Holy Roman Empire: A Fragmented Power